How Are Counterweights Made?
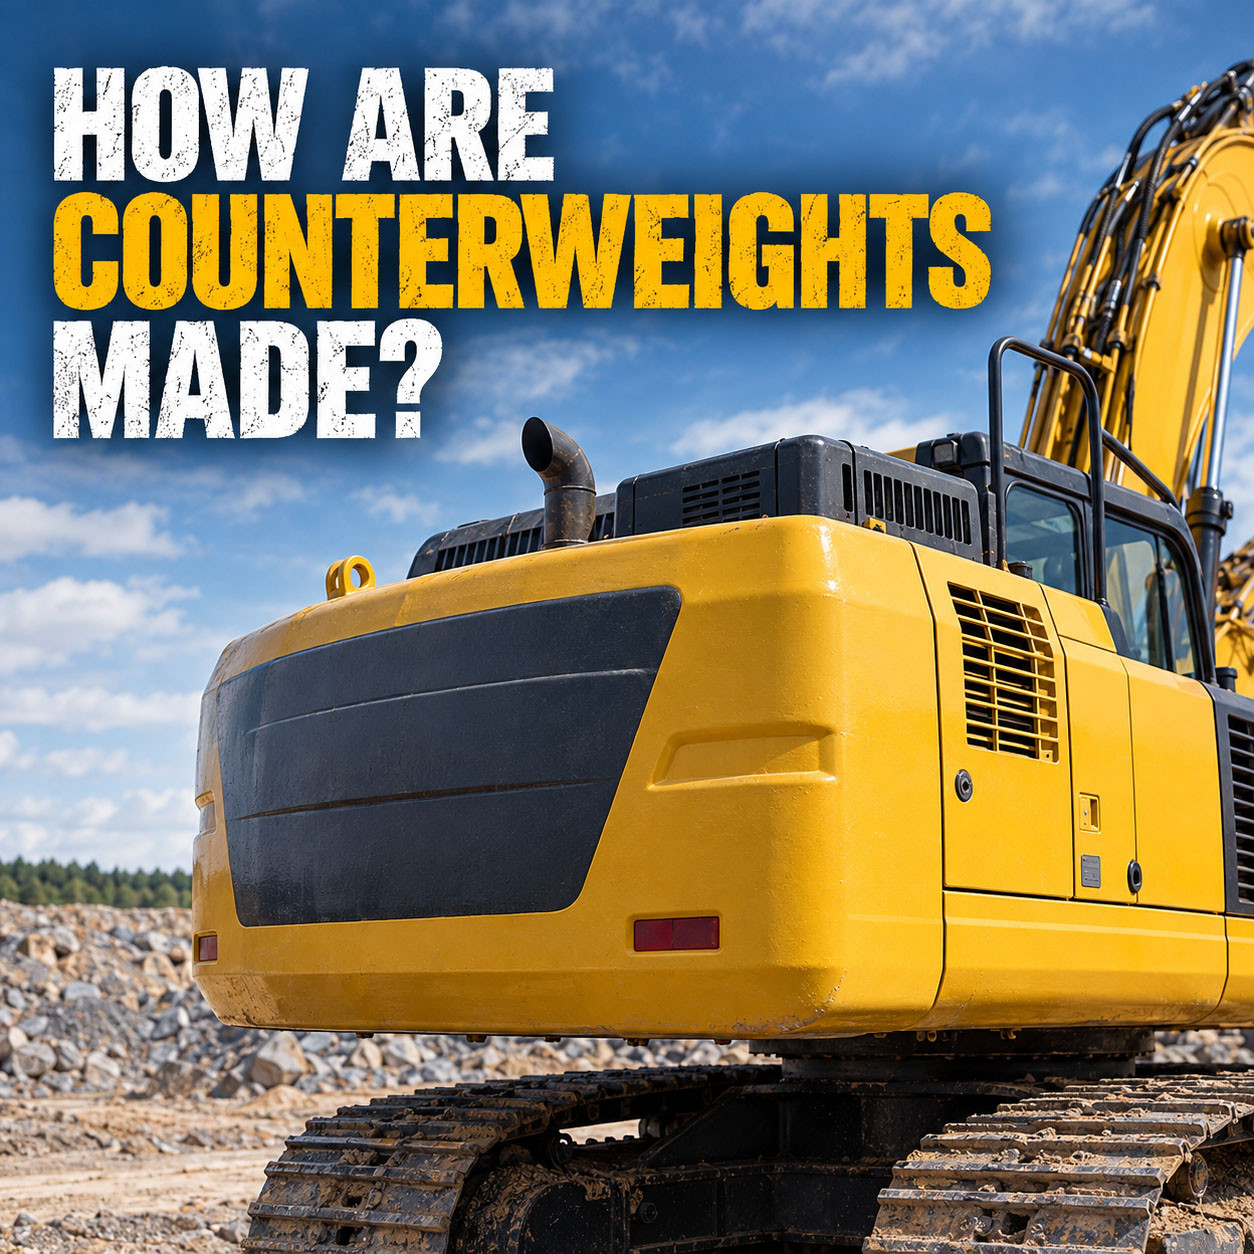
Counterweights are used on many types of heavy equipment to help maintain balance while the machine is working. They offset the weight of components such as booms, arms, attachments and other equipment positioned away from the machine's center.
Although a counterweight may look like a single solid component, producing one involves several stages. The process typically includes mold preparation, metal casting, finishing, machining, inspection and painting before the completed part is ready for installation.
Here’s a look at how counterweights are made.
1. Preparing the Mold
The manufacturing process begins with a mold designed to produce the required shape of the counterweight. For large, complex castings, sand molds are commonly used.
The mold creates the exterior shape of the component while also accounting for features that will be needed during the casting process. Once prepared, it is ready to receive the molten metal.
2. Melting the Metal
The metal used to produce the counterweight is heated in a furnace until it reaches the temperature required for casting.
Large counterweights require a significant amount of material, so the melting process must produce enough molten metal to fill the mold. Once the metal reaches the appropriate condition, it can be transferred for pouring.
3. Pouring the Casting
The molten metal is carefully transferred from the furnace and poured into the prepared mold.
As the metal fills the mold cavity, it takes on the shape of the counterweight. The casting process also forms areas that will later be cleaned, cut or machined during the finishing stages.
4. Cooling and Removing the Casting
After the mold has been filled, the metal must cool and solidify. Once the casting has reached the appropriate condition, it can be removed from the mold.
The newly formed counterweight may still have excess material left over from the casting process. Gates, risers and other unwanted sections are removed before the component moves on to finishing.
5. Cleaning and Finishing
The casting is cleaned to remove sand, scale and other material left behind from the molding and casting processes.
Workers may also grind or otherwise finish portions of the casting to remove rough areas and prepare surfaces for additional machining. This stage helps bring the raw casting closer to its final form.
6. Machining Mounting Points
Some areas of the counterweight require more precise dimensions than can be achieved during casting alone.
Mounting surfaces, bolt holes, locating points and other critical features can be machined to the required specifications. These precisely finished areas allow the counterweight to be securely attached to the machine.
7. Inspection and Weighing
Before the counterweight is painted, it is inspected to make sure the casting and machined features meet the required specifications.
The component can also be checked for its dimensions and weight. Because the counterweight contributes to the machine's overall balance, verifying these characteristics is an important part of the manufacturing process.
8. Painting and Final Finish
Once the counterweight has passed inspection, it can receive its final finish.
The component is primed and painted to provide the desired appearance and help protect its surfaces from corrosion. At this point, the raw casting has been transformed into a finished heavy-equipment component.
9. Ready for Installation
With the painting and finishing complete, the counterweight is ready to be prepared for shipment and installation.
Once installed on the machine, the finished component helps offset the weight of other components and contributes to the machine's overall balance and stability.
From a mold and molten metal to a finished component, a counterweight goes through several stages before it is ready to go to work.